Peyton Project - Kitchen
Part 3


10/21/23
Our Vintage Inspired Kitchen Renovation: Part 3
Inspiration, design, and process behind the Mac home kitchen!
Taking Our Kitchen to the Ceiling: Crown Molding, Island Transformation & Appliance Updates (Part 3 of our Budget Reno!)
We're back with Part 3 of our huge kitchen renovation on a budget, and today we're tackling some major transformations! Get ready for crown molding that adds grandeur, a custom oak island makeover, and exciting (well, mostly exciting) appliance updates. I'm also throwing in some not-so-great news about the fridge, but hey, that's real life, right?
Crown Molding Magic
First up, we're giving our cabinets a touch of elegance with crown molding! We built out boxes using 2x4s and trim pieces, making sure everything aligns perfectly with the ceiling (no wonky molding here!). It's a bit of a process, but trust me, the finished look is SO worth it. It's a simple addition that packs a big punch, making the whole space feel more finished and polished. We used pre-cut pieces for ease and speed, and it turned out beautifully!

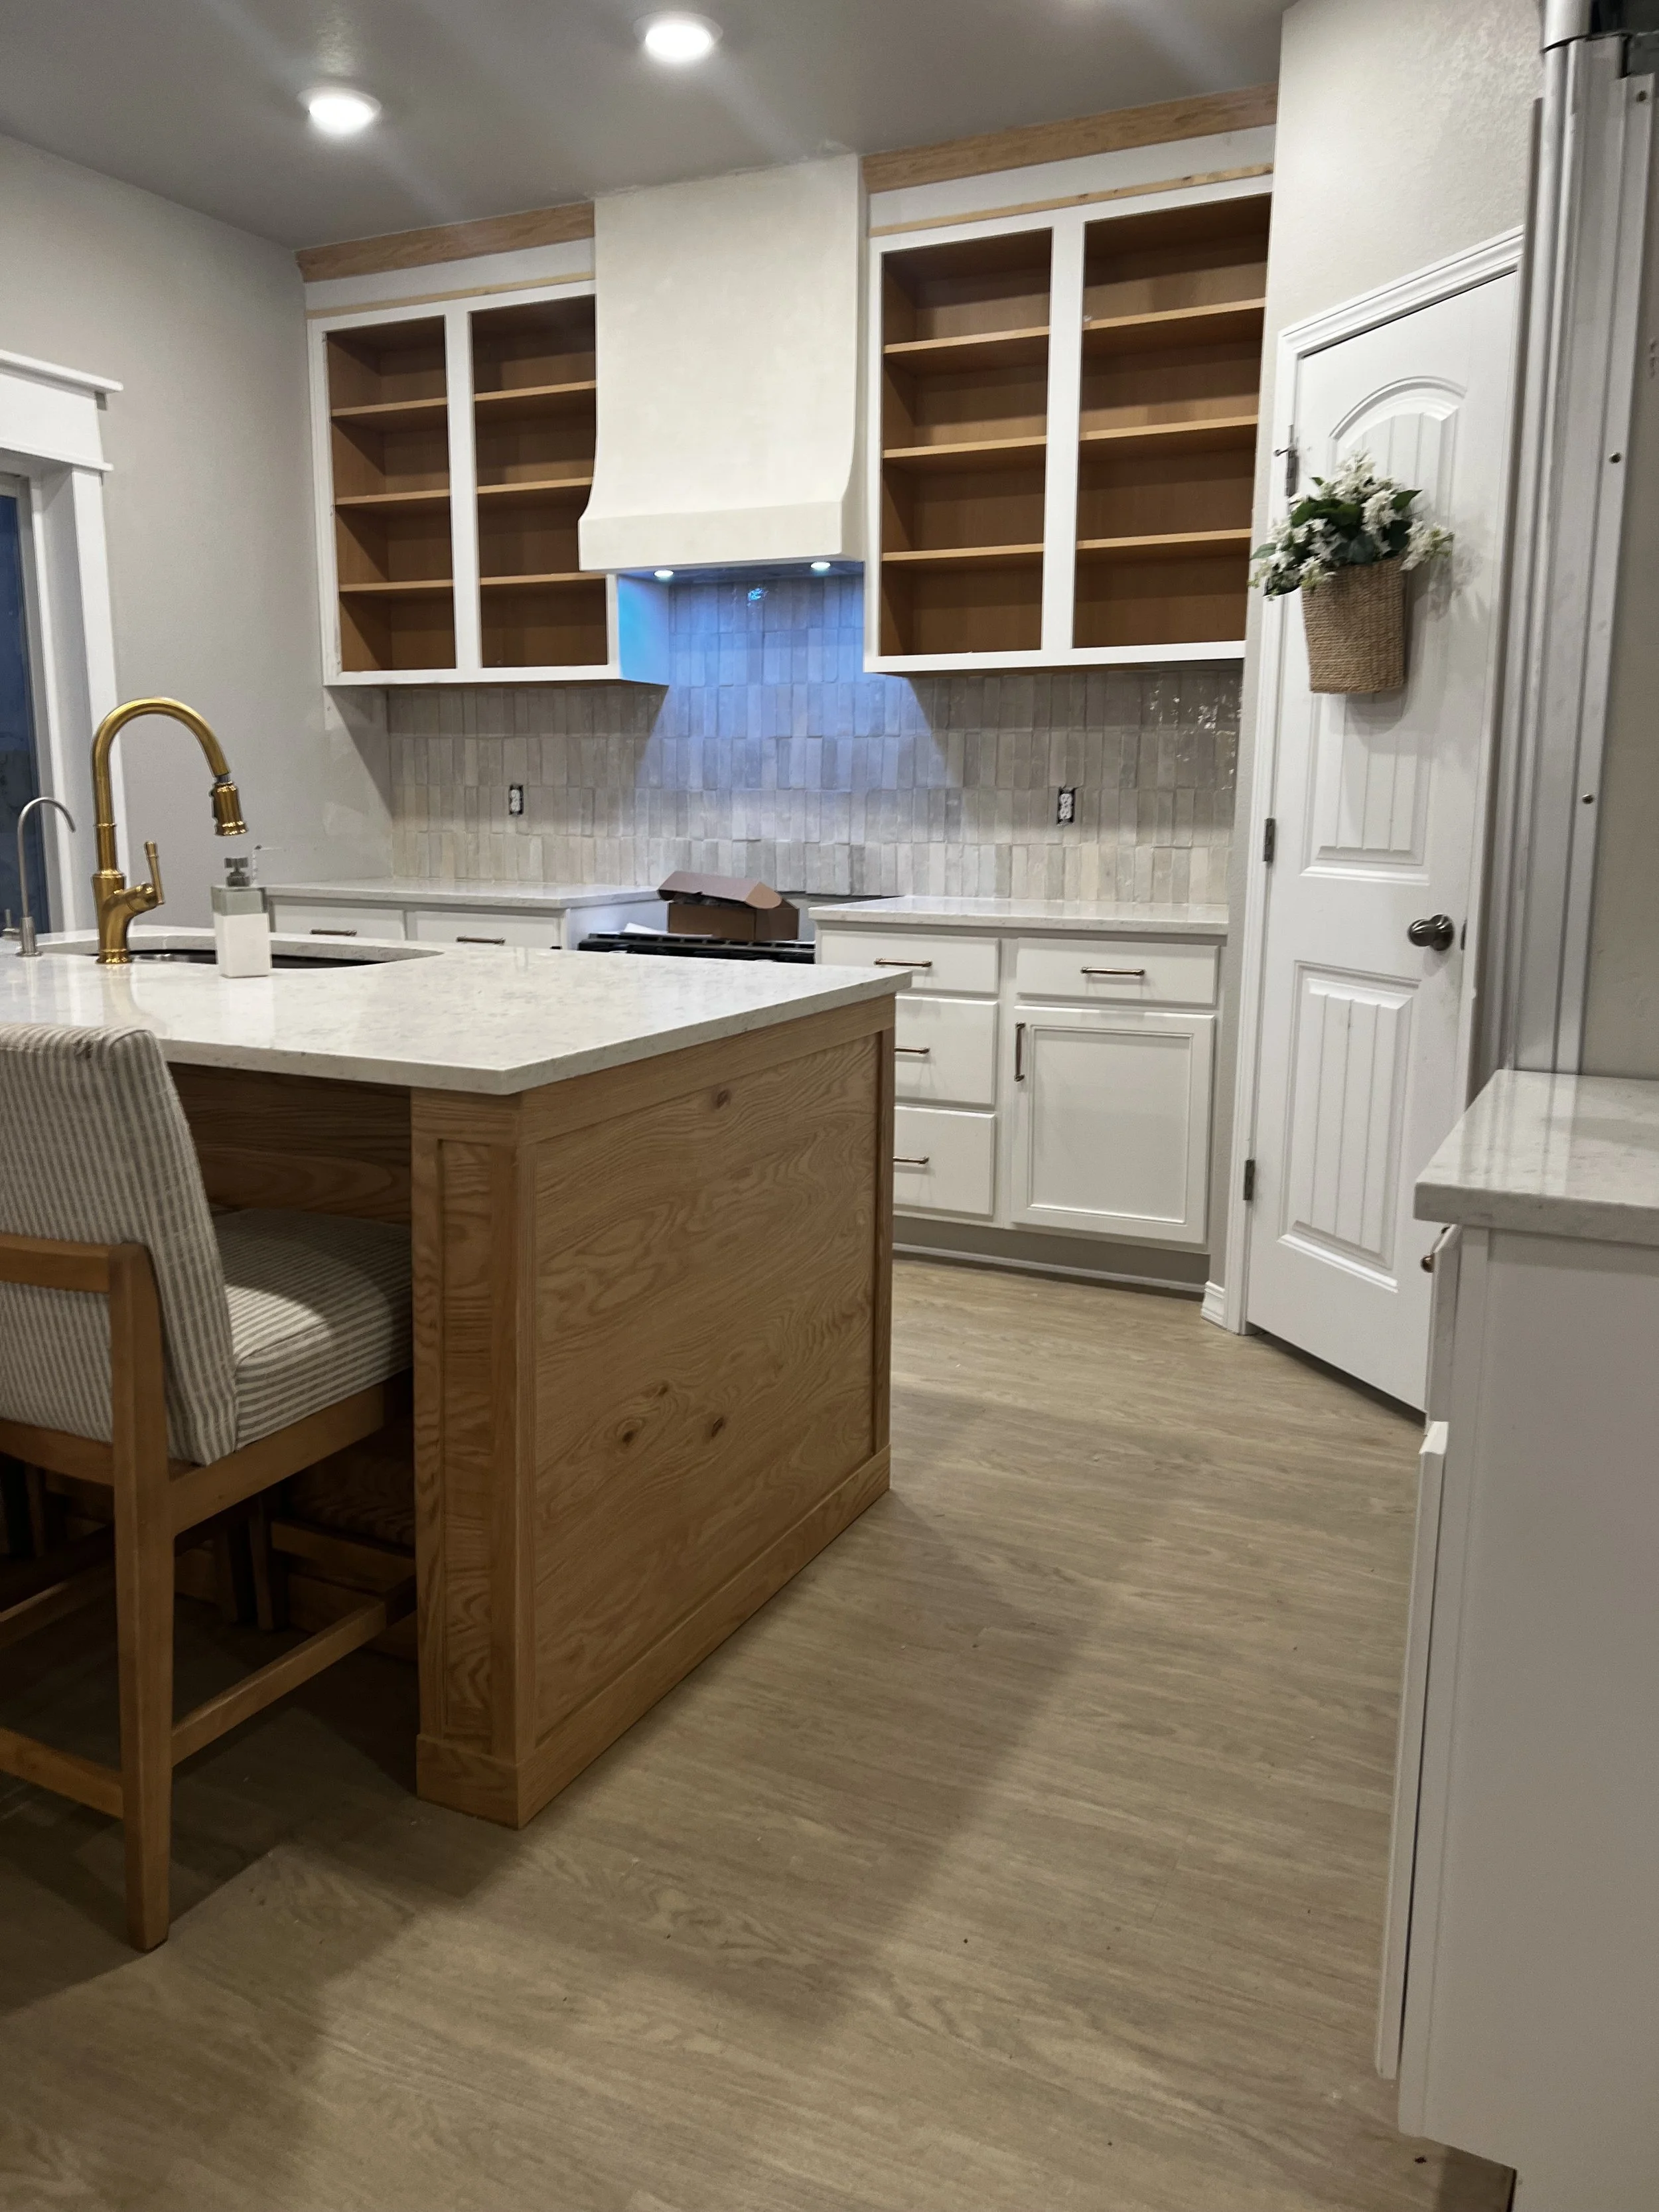
Island Transformation Extravaganza
This is where things get really exciting! We ripped off the old trim and embarked on a mission to create a stunning custom oak island. We used white oak plywood for its durability and beauty, building a frame around the existing base and then meticulously covering it all up. It wasn't always easy (those pesky pre-existing pillars!), but the end result is truly jaw-dropping. This island is now the centerpiece of the kitchen, and we’re absolutely obsessed with it!
Appliance Adventures (and Misadventures):
We finally got our new stove installed, and let me tell you, it's a beauty! No more temperamental oven or finicky burners for this chef. Unfortunately, the fridge situation isn't as rosy. Turns out, there was a bit of a mix-up, and the one we ordered isn't quite what we expected. We're still working on resolving that, but hey, that's the rollercoaster of home renovations, right?
Next Steps and Stay Tuned for More
We're almost there! In the next part, we'll be tackling the final touches: painting the cabinets, adding hardware, and styling the space to perfection. Get ready for the grand reveal!
P.S. Don't forget to check out the links in the description box for all the products we used and some of my favorite home decor finds!
And that's it for Part 3! What do you think of the progress so far? Any questions or DIY tips for me? Let me know in the comments below!
Leave a comment below and tell me what you're most excited about for the final kitchen reveal!
I hope you enjoyed this blog post as much as I enjoyed creating it! Remember, if you have any questions, feel free to leave a comment below or send me a message.
Progress and Challenges: A Tale of Triumph and Crusties
We've already rolled up our sleeves and made significant progress! The trim around the sliding glass door is history, the microwave and cabinets have vacated their former positions, and the walls are prepped for their backsplash adornment. Plus, the new fridge is sparkling clean and ready for its grand debut.
But let's be honest—no renovation journey is complete without a few challenges. Those cabinets were surprisingly heavy (hello, impromptu weightlifting session!), and we uncovered some...shall we say, "interesting" surprises lurking beneath the oven. Note to self: add "deep clean under appliances" to the monthly chore list.
The Transformation
We tackled these challenges head-on, implementing several key changes:
Replaced appliances: Sleek and modern appliances in neutral tones add a touch of luxury while improving functionality.
Painted cabinets: A fresh coat of paint in a calming shade transformed the cabinets, giving them a vintage feel and brightening the space.
Breathtaking backsplash: The pièce de résistance is the stunning zeilliege tile backsplash with its unique horizontal pattern. It adds a touch of Moroccan flair and visual interest.
Extended island: The expanded island provides more workspace and storage, making the kitchen more functional and inviting.
Smart storage solutions: Built-in shelves and organizers maximize space and keep everything clutter-free.
Replaced hardware: New hardware complements the vintage aesthetic and adds a polished touch.

The Impact
The result is a kitchen that is both beautiful and practical. The calming atmosphere makes it a joy to spend time in, while the smart storage solutions and improved functionality make it a dream to cook in.
This renovation proves that you can achieve a stunning transformation without breaking the bank. By focusing on key elements like vintage touches, smart storage, and clever design choices, you can create a kitchen that reflects your personal style and meets your needs perfectly.
Let’s work together.
Interested in working together? Click the button below for more info and we will be in touch shortly! We can't wait to hear from you!